Release Notes > Older Releases > 5.16.0
Webiny 5.16.0 Changelog
See what's new in Webiny version 5.16.0.
Changes
This document highlights the most important fixes, improvements, and features, that were introduced in Webiny 5.16.0.
Please check the Webiny 5.16.0 migration guide for the upgrade steps.
Page Builder
Introducing Export and Import of Pages (#1960 )
)
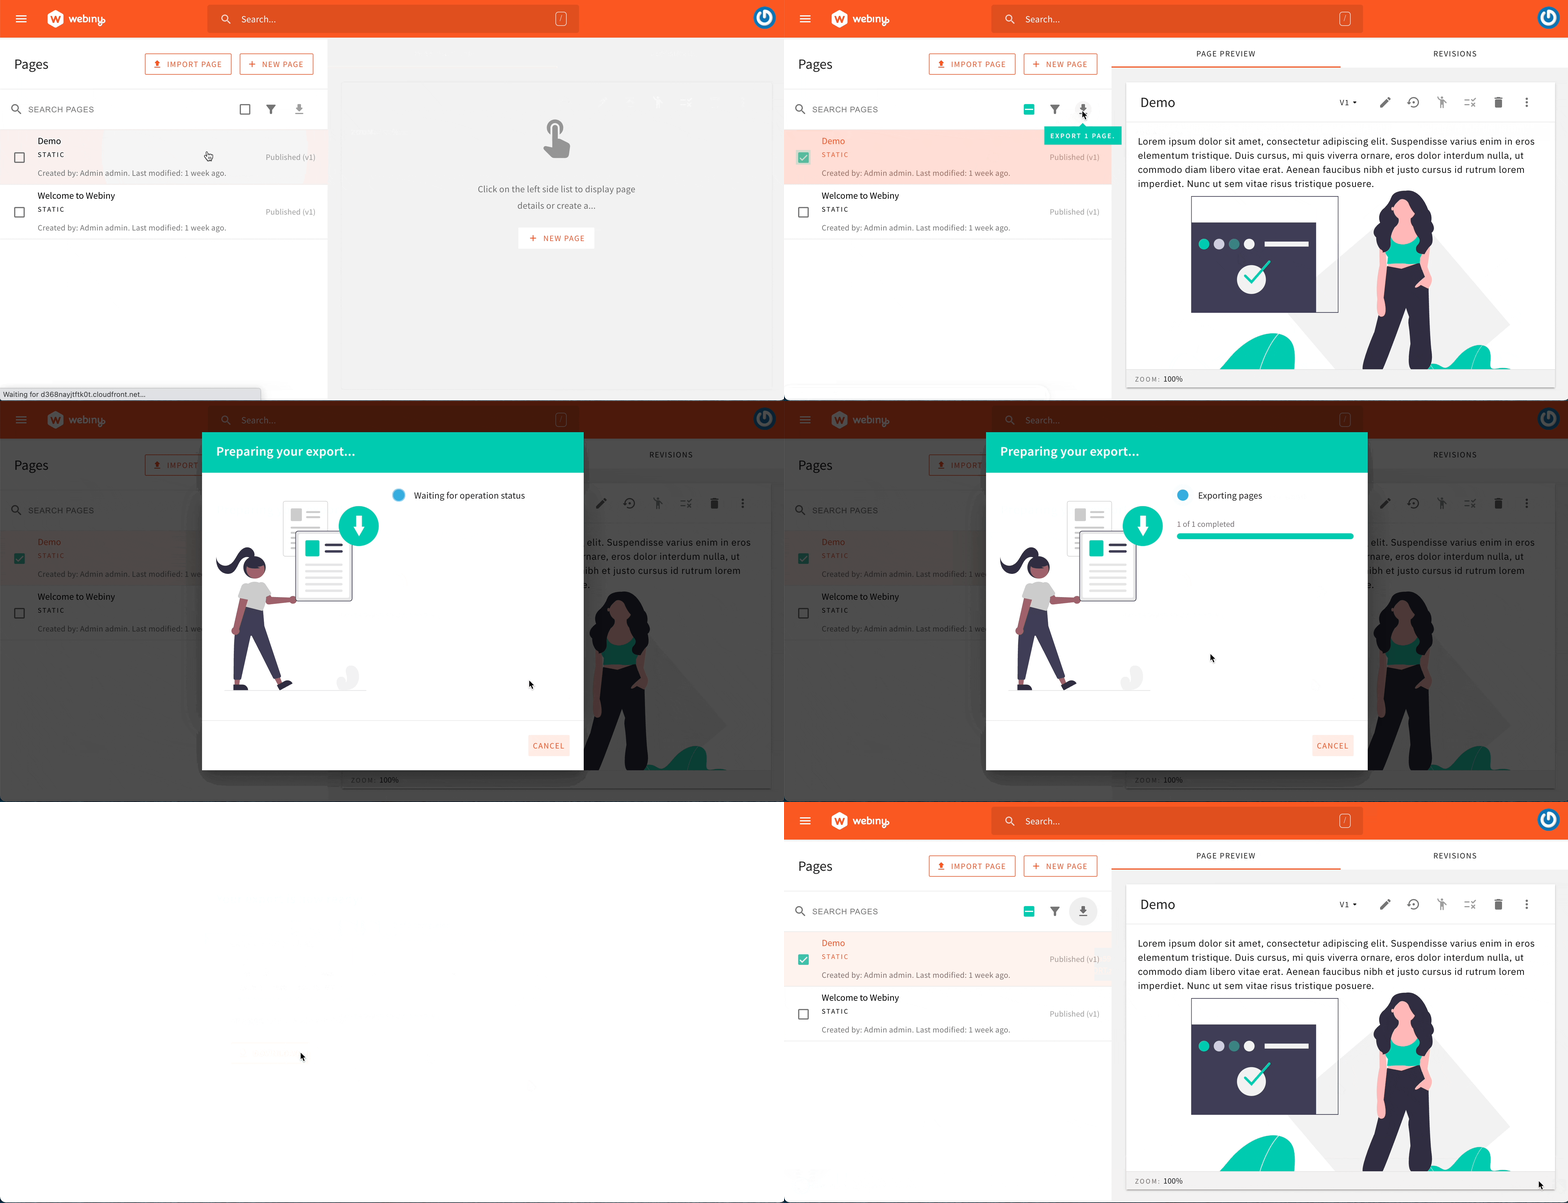
With this new feature, you can easily export multiple pages created with the Page Builder application:
 Page Builder - export page demo
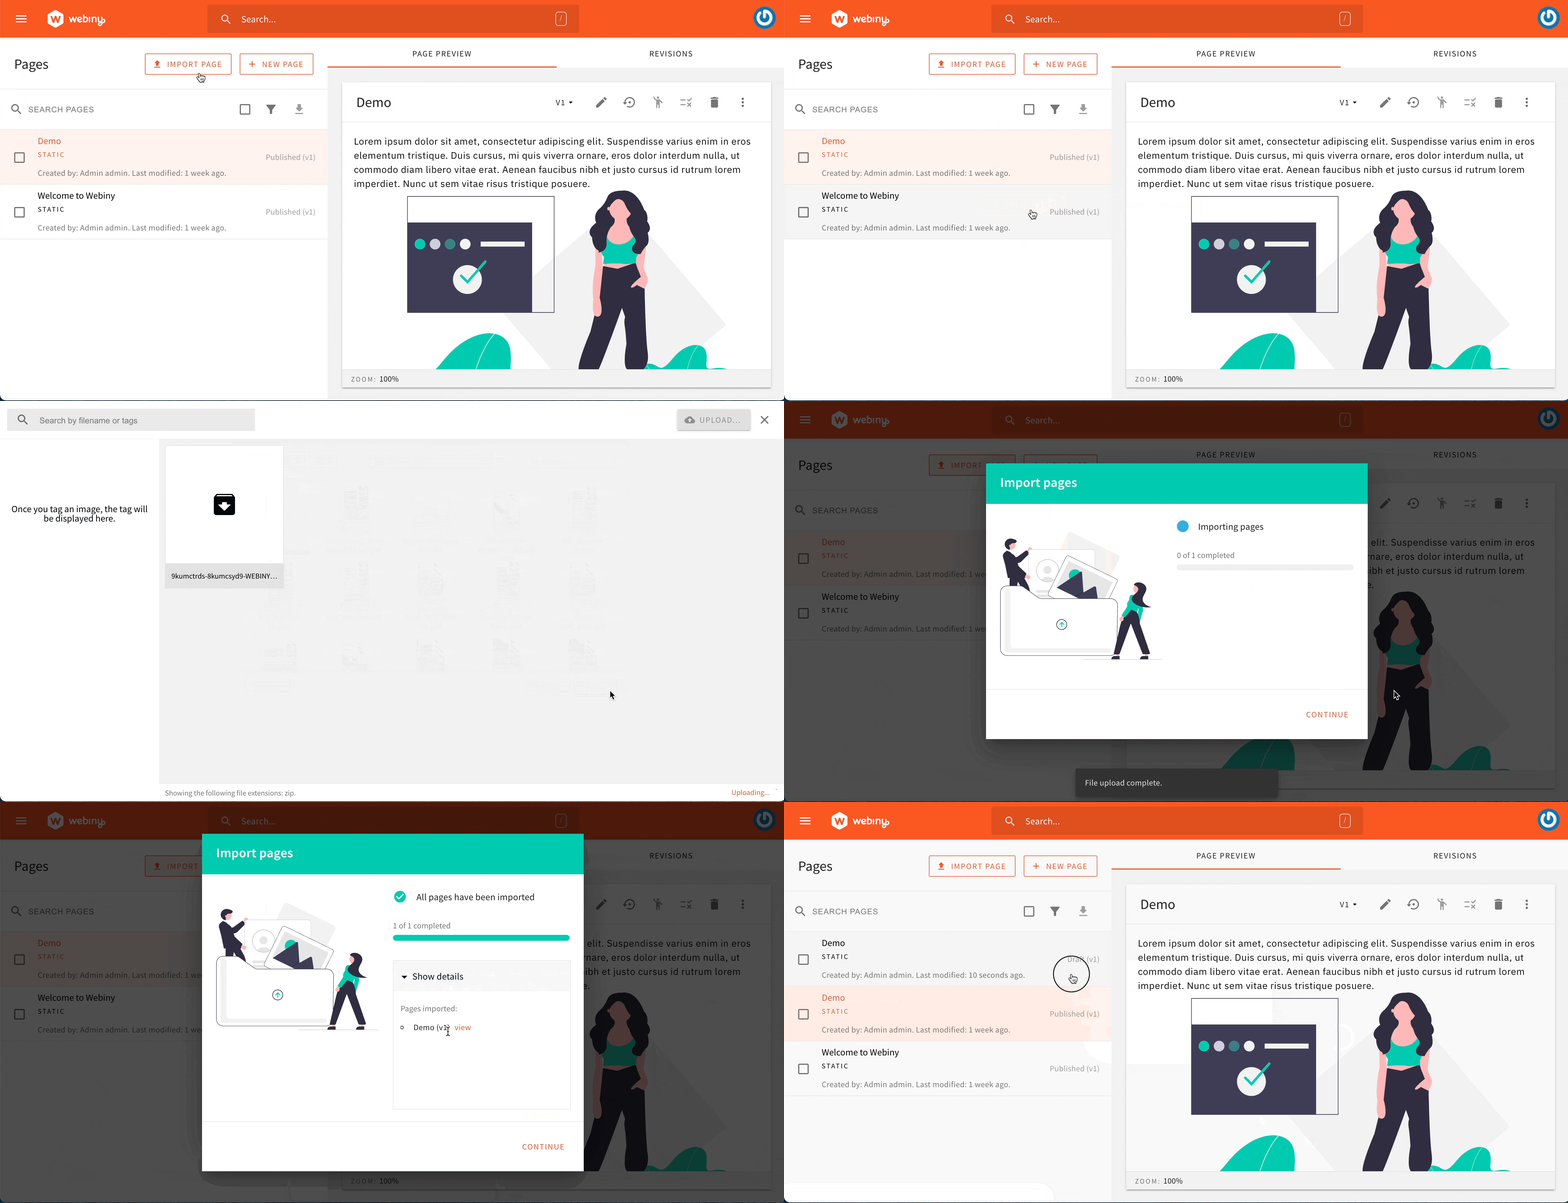
Once completed, the exported pages can be imported in a different environment or even another Webiny project, by simply clicking on the Import Page button and providing the exported file:
 Page Builder - export page demo
To learn more about environments in general, check out the Environments key topic.
Export Prerendering Plugins Separately (#1954 )
)
Under the hood, all of the pages created and published via the Page Builder application are prerendered. Meaning, the moment we publish a page, a background job ensures that the page’s complete HTML is retrieved, and stored into an Amazon S3 bucket. Once that’s done, the page becomes ready to be served to actual website users.
Besides the mentioned “page publishing” event, there are actually a couple of other key events that also trigger these prerendering-related background jobs. For example:
- when a page is unpublished, the previously stored page HTML is removed from the Amazon S3 bucket
- when website settings change, like for example our website’s title, the whole website is prerendered
- and more
If were to open our default GraphQL API’s index.ts
api/code/graphql/src
And while this approach makes it possible to easily include the complete default prerendering-related functionality (or completely remove it if needed), it also prevents us from importing just specific pieces (plugins) of it. That’s why we’ve made it possible to import the default prerendering-related functionality in a more granular way, via the following import statements:
So, with this approach, we can easily just update the behaviour that’s, for example, triggered after a menu has been updated. We would simply remove the first import statement and define our own MenuPlugin
New Prerendering Events (#1945 )
)
With the prerendering-related plugins exported separately, we’ve also made it possible to intercept all prerendering-related calls, with just a simple ContextPlugin
For example, with the following piece of code, we can perform additional logic before a page or multiple pages are about to be prerendered:
The following are the events we can subscribe to:
onPageBeforeRender- triggered before a page or multiple pages are about to be rendered
onPageAfterRender- triggered after a page or multiple pages were rendered
onPageBeforeFlush- triggered before a page or multiple pages are about to be flushed
onPageAfterFlush- triggered before a page or multiple pages were flushed
Note that rendering and flushing of pages is happening asynchronously. Meaning, the onPageAfterRender
onPageAfterFlush
Form Builder
Changes in the GraphQL Schema
We changed the listFormSubmissions query to accept [FbSubmissionSort!] instead of FbSubmissionSortInput. This change was done to match our other API packages GraphQL schemas.
If you had some custom code with a query call to list the form submissions, be sure to change it accordingly.
Available options to send are createdOn_ASC, createdOn_DESC, savedOn_ASC and savedOn_DESC. The default sort is createdOn_ASC.
Development
Pulumi CLI Is Now Downloaded Into Project Root's.webinyFolder (#1947 )
)
To deploy necessary cloud infrastructure, by default, Webiny relies on Pulumi, a modern infrastructure as code framework.
For every Webiny project, the framework is downloaded automatically, and, prior to this release, all of the related binaries would be downloaded into project’s node_modules/@webiny/pulumi-sdk/pulumi folder. And although this works, over time, we’ve noticed a couple of interesting issues with this solution:
- running the
yarncommand to reinstall project’s dependencies would cause the downloaded binaries to be removed, making the user re-download the Pulumi CLI - while in runtime, Pulumi CLI can store sensitive files in this directory, which can create different deployment and security-related issues
Because of these, from now on, all the Pulumi CLI related binaries will be downloaded into the .webiny/pulumi-cli folder, located in your project root.
Once your project has been upgraded to 5.16.0, upon running the webiny deploy or the webiny watch command, the Pulumi CLI will be re-downloaded. This is normal and will happen even if you already had the Pulumi CLI downloaded in the mentioned node_modules/@webiny/pulumi-sdk/pulumi folder.
Improved Webiny CLI (#1946 )
)
Webiny CLI also received a couple of neat improvements.
For starters, we’ve introduced the --allow-production flag for the webiny watch command, which allows the user to run the command even with prod and production environments (by default, the command doesn’t allow that).
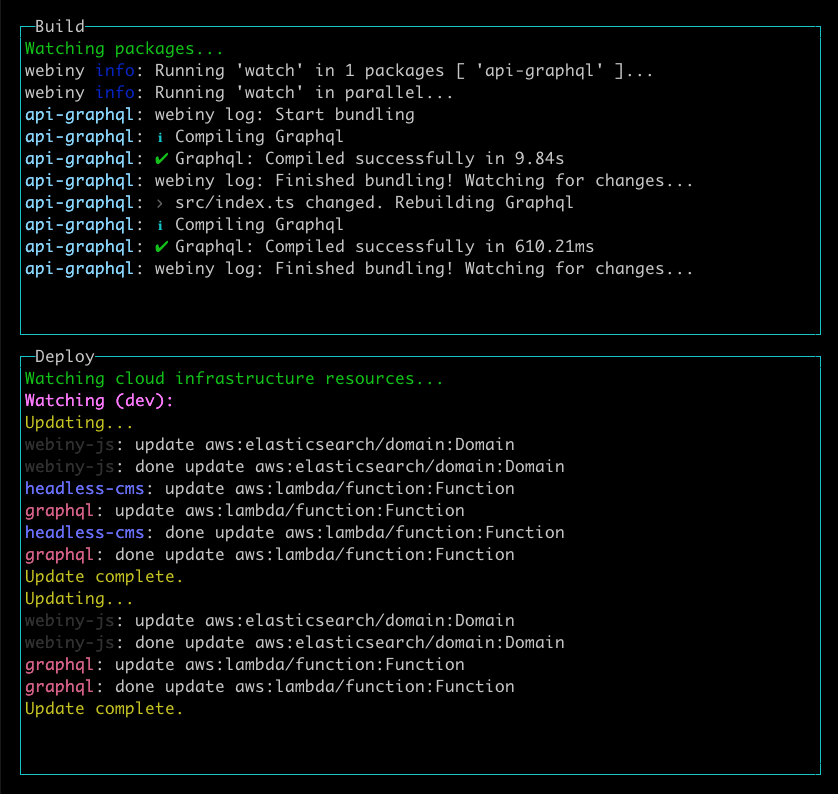
Speaking of the webiny watch command, we’ve also made the logs displayed in the Deploy pane a bit cleaner and nicer:
 webiny watch Command - The Improved Deploy Pane
Finally, the Full Stack Application scaffold should now work correctly on Windows operating system.
Changes in the Way We Approach Project Upgrades
With this release, we’ve decided to change the way we approach project upgrades.
How Was It Done Before This Version?
Prior to this release, upon running the webiny upgrade, the command would directly modify your project’s code, most often within the api or apps folders. But, ultimately, the problem with this approach is that it is just too complex and lengthy, so we needed to start looking for an alternative.
How Will It Be Done From This Version?
Starting with this version, upon running the same webiny upgrade command, we will create a backup of the existing folders and files and create new folders and files in their place. We will only backup the files and folders that are being changed in some way. In most cases, it will be file changes only.
When the upgrade is complete, as a final step, you will need to transfer your custom code from the backed up files to the new ones.