File Manager > Extending Functionality
Create a File Type Plugin
Learn how to create a plugin to handle any file type within Webiny File Manager.
This feature is available since Webiny v5.8.0.
- how to customize file rendering within Webiny File Manager
- how to add custom actions to different file types
- how to create your own file type plugin class
Overview
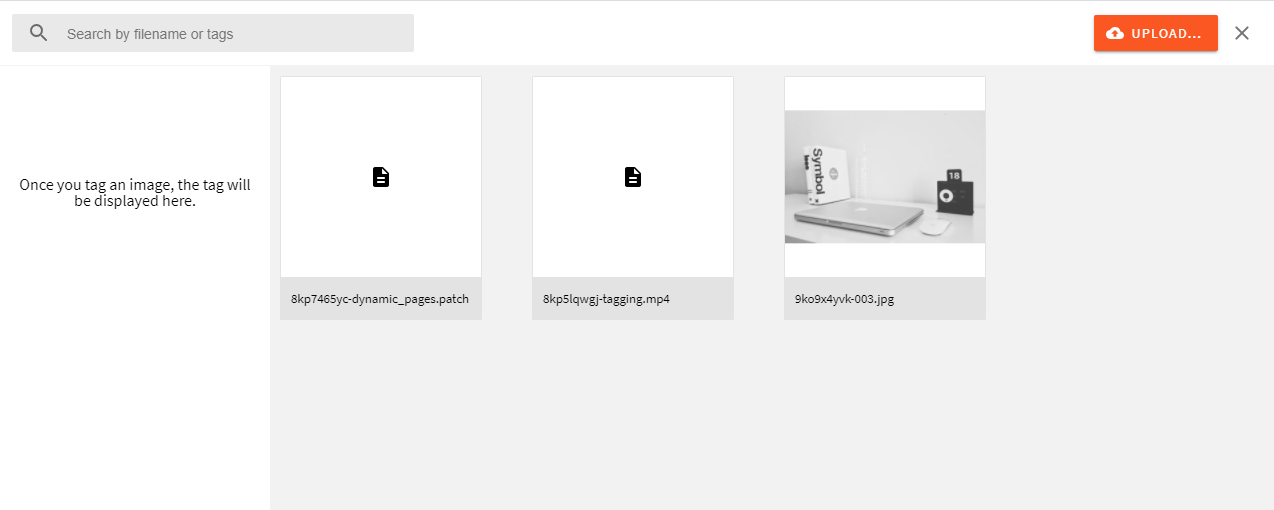
By default, the Webiny File Manager has a preconfigured plugin for image files, and a fallback plugin to render any other file type using a default icon. Out of the box, it looks like this:
 Default File Type Plugins
In this guide, we go through ways of implementing your own renderers for file types of your choice.
Using the Built-in Plugin
The easiest way is to use the built-in FileManagerFileTypePlugin class. Let’s configure a plugin that will render files of type video/mp4:
The code above can be placed in the /apps/admin/code/src/plugins/mp4Plugin.tsx
apps/admin/code/src/plugins/index.ts
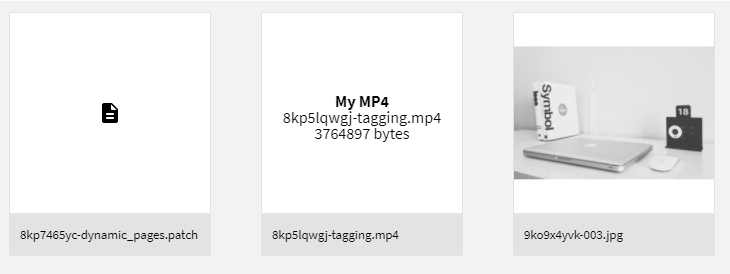
Now your File Manager will display files like this:
 Custom video/mp4 Renderer
Using Glob Patterns
You can also define types using globs, which will be matched using the minimatch
You can define multiple file type plugins, and your plugins may have overlapping types definitions. Webiny will go through all of your plugins, and the last one to match wins.
Custom File Actions
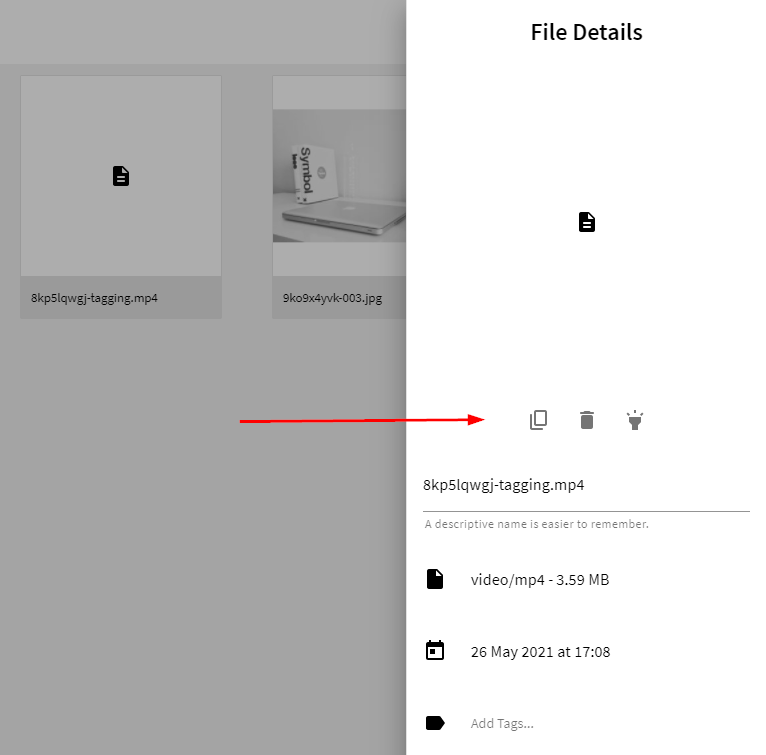
When you open the file details sidebar, you’ll notice there are several actions available out of the box:
 Default File Actions
You can add your own actions here using the same file type plugin you used to define the custom renderer:
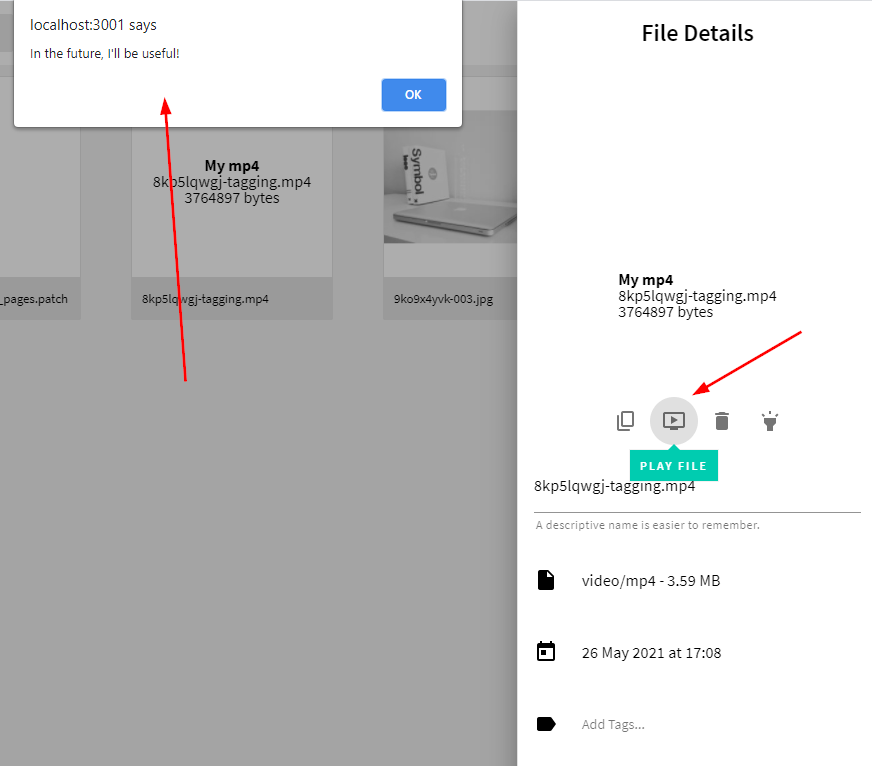
Now your file details sidebar will contain this new custom action:
 Custom File Action
Custom Plugin Classes
The FileManagerFileTypePlugin class can be used as is, but you can also extend it and create your own classes for different file types: