Admin Area > New App Tutorial
Securing Client App
Learn how you can secure your Admin Area application modules.
- how to prevent unauthorized users from seeing user-interface sections in Webiny Admin application
In order to follow this tutorial, you must use Webiny version 5.9.0 or greater.
Learn more about the Webiny Security Framework in the Security Framework key topics section.
Overview
The code that we cover in this tutorial can also be found in our GitHub examples repository
Let’s wrap up this tutorial by adding authorization checks in the Admin Area application. What we want to achieve is having a piece of UI hide if the currently logged-in user doesn’t have access to it (doesn’t have the necessary security permissions).
For starters, let’s see how we can hide the Car Manufacturers menu items in the main menu, in cases where the logged-in user doesn’t possess the necessary permissions.
Main Menu Items
By completing the previous set of tutorials, in our Admin Area application, we should have the following items in the main menu:
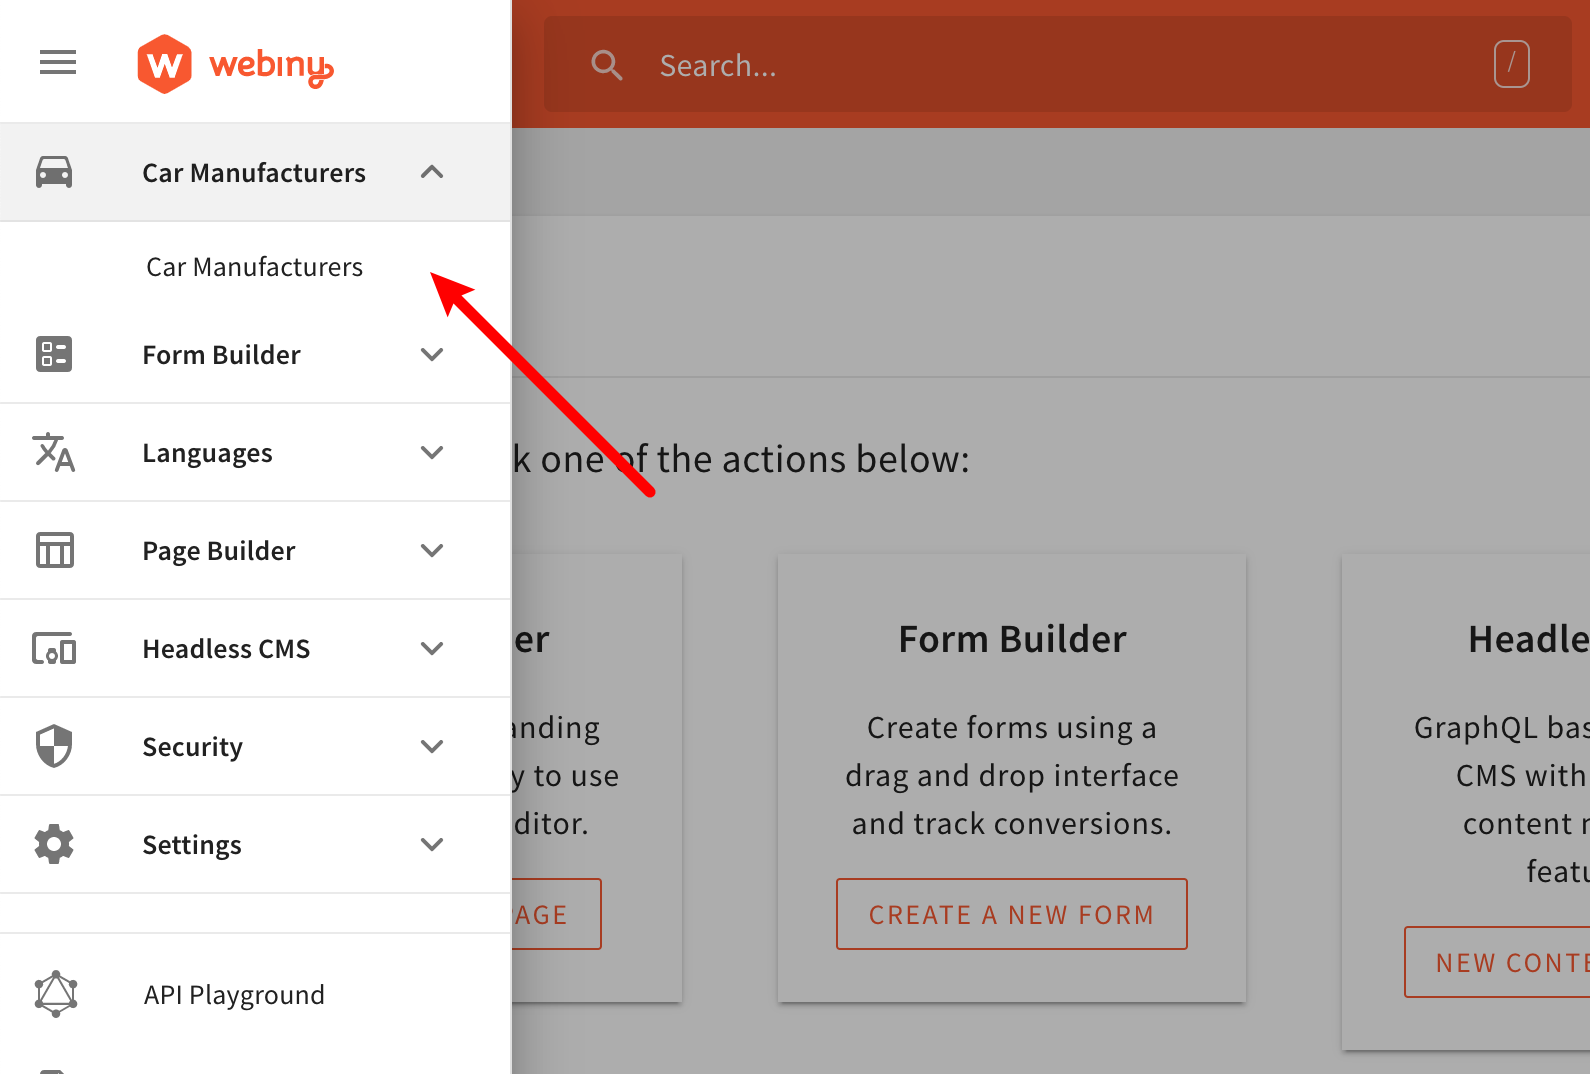 Main Menu - Car Manufacturers Module
So, what we want to achieve here is the following:
- if the user is allowed to access the Car Manufacturers module, then make the menu item visible
- otherwise, if the user isn’t allowed to access it, keep the menu item hidden
Note that when we say “has access”, specifically in this case, we’re going to check if the user can read Car Manufacturer entries.
The code that defines menu items is located in the scaffolded apps/admin/code/src/plugins/scaffolds/carManufacturers/menus.tsx
In order to conditionally render the Car Manufacturers menu items, we are using the useSecurity
@webiny/app-security
If you’re curious about the CarManufacturersPermission interface, you can check its definition in apps/admin/code/src/plugins/scaffolds/carManufacturers/types.ts
In order to actually compile the code changes we’re about to make and see them in browser, we need to run the following Webiny CLI command:
To learn more, check out the Use the Watch Command guide.
As you may have noticed, we’re using the exact same logic and code, that we previously used while trying to secure the getCarManufacturer GraphQL resolver function. The only aspect that’s different is the way we fetch the currently logged-in user’s permission. Here, we are using the useSecurity React hook in order to first get the logged-in user, and then, via the getPermission method, the car-manufacturers permission.
NOTE: in order to use React hooks, we had to move the logic into a dedicated component (
CarManufacturersMenu), because therenderfunction of theMenuPluginis not a React component. It’s just a function that needs to return a React element to render. For that reason, we can’t use hooks in this function directly.
In order to manually test this, we can just log in with a user that doesn’t belong to the Car Manufacturers security group. In that case, if everything was done correctly, we should not be able to see the Car Manufacturers menu item:
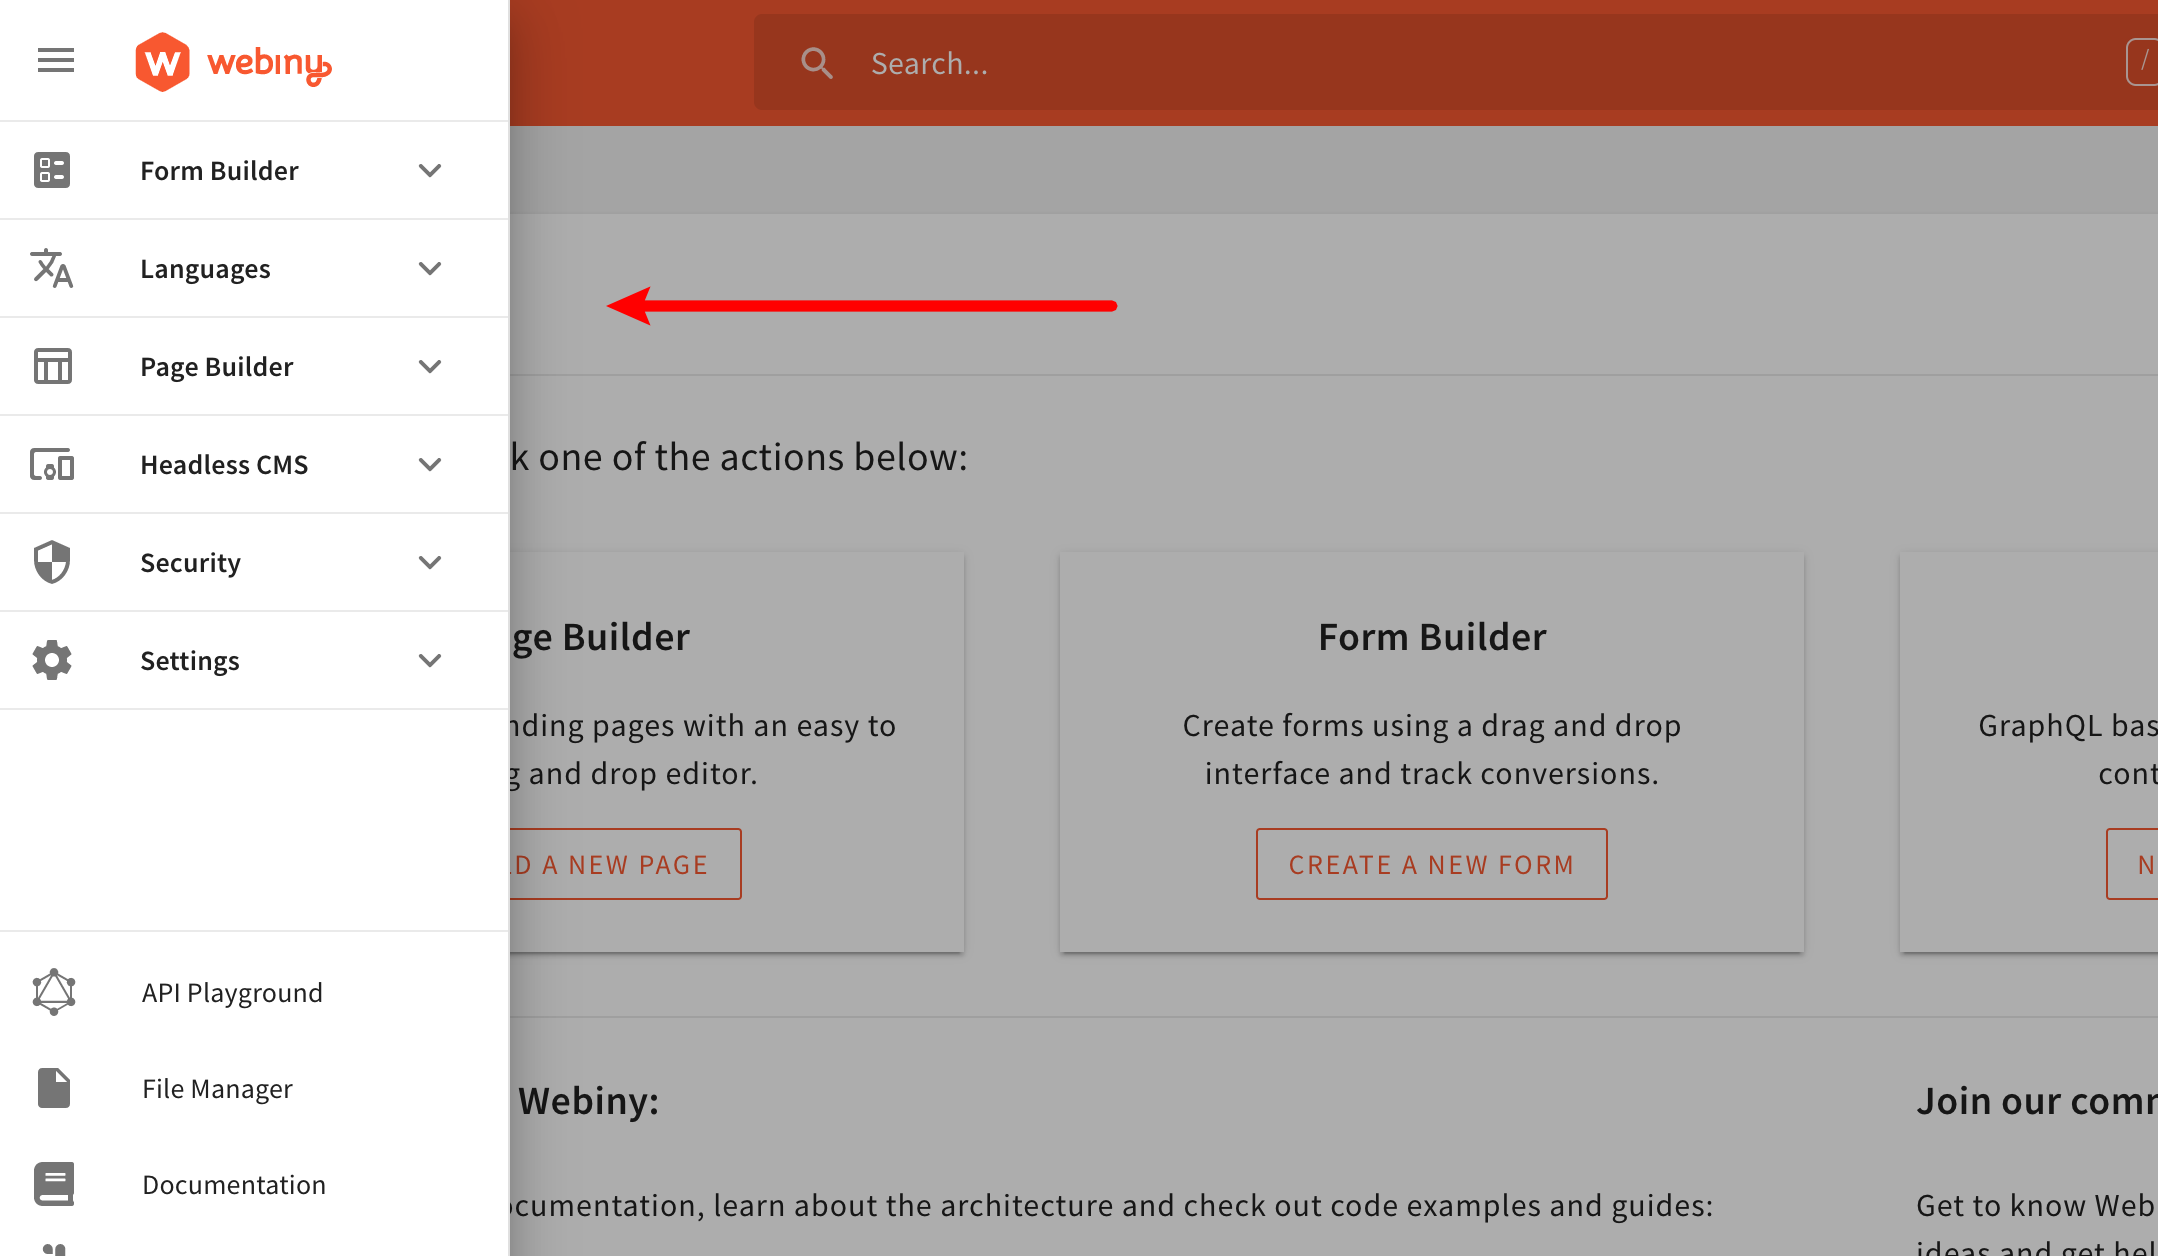 Main Menu - Car Manufacturers Module (Hidden)
And while this is much better than what we had earlier, note that the actual route, to which the Car Manufacturers menu item linked, is still accessible. In other words, if a user tried to enter the /car-manufacturers URL path (route) into the browser manually, the view would still be shown. This is simply because the route itself isn’t secured. So, let’s see how we can do that.
Routes
To prevent unauthorized users from accessing the /car-manufacturers URL path (route), let’s jump to the apps/admin/code/src/plugins/scaffolds/carManufacturers/routes.tsx
SecureRoute component:
In order to conditionally render the /car-manufacturers route, we are using the SecureRoute
@webiny/app-security
So, with this newly added code in place, by entering the mentioned /car-manufacturers URL path into the browser, we’d receive the following:
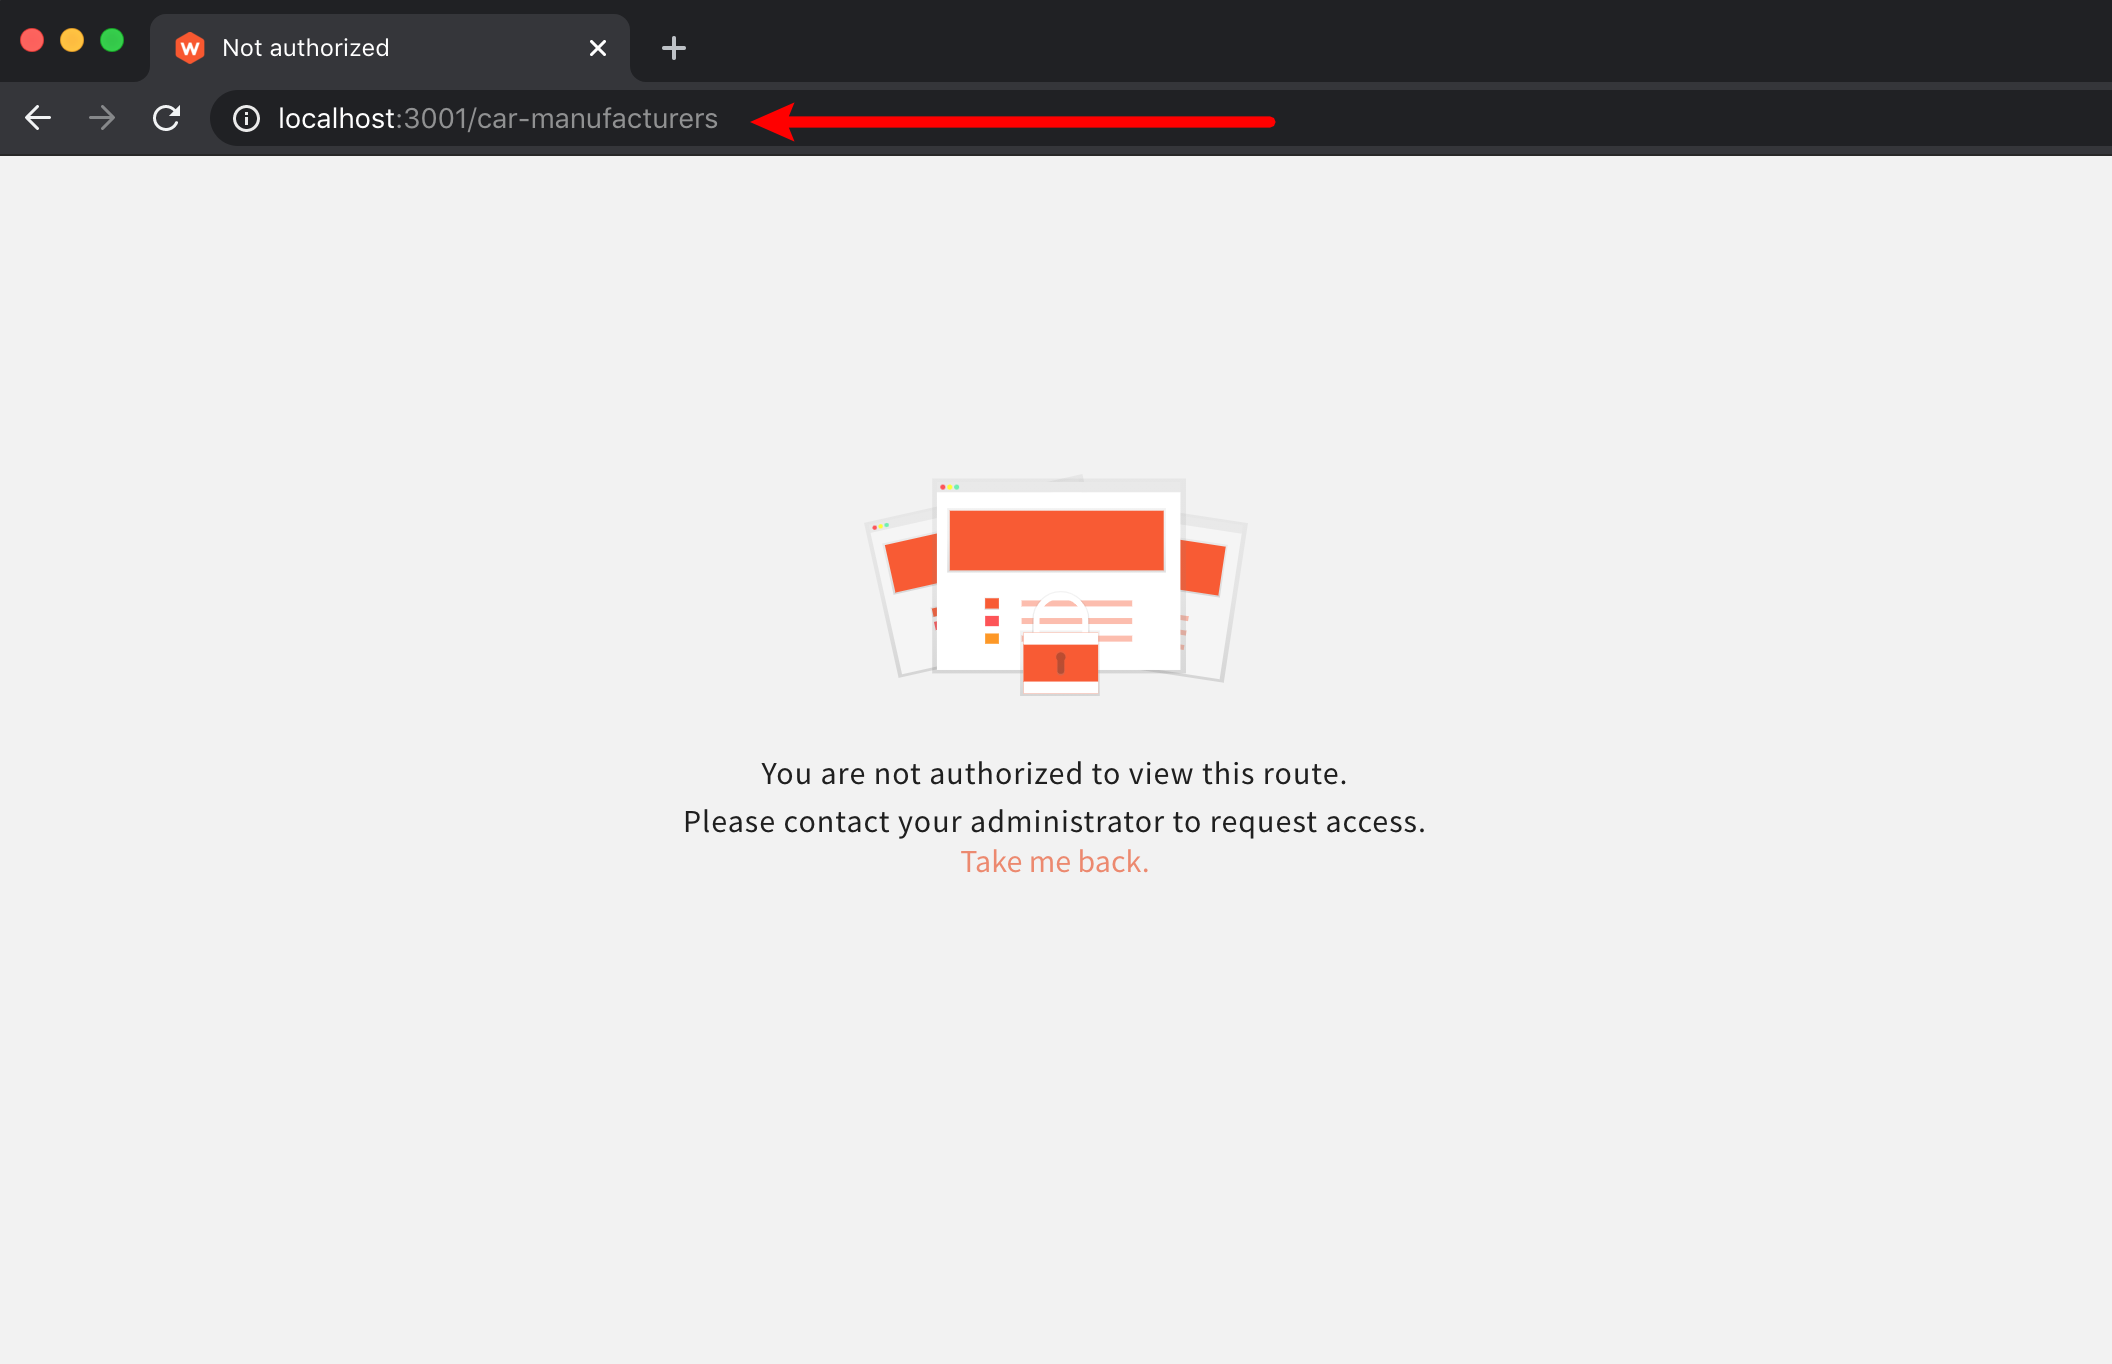 Cannot Access Route - Not Authorized Message
And that’s how you secure your routes. Note that we’ve only checking if the logged-in user possesses the car-manufacturers permission. And although that’s not a very specific check, we can still consider is it as enough, since we can perform more specific checks within the rendered child React components.
React Components
Let’s see how we can prevent rendering of React components, in case the logged-in user is not authorized to see them.
For example, let’s hide the New Car Manufacturer button, for logged-in users that aren’t allowed to create new or update existing car manufacturers. As we’ll soon be able to see, this is determined via the rwd property in our car-manufacturers security permission object (letter w must be present in the string).
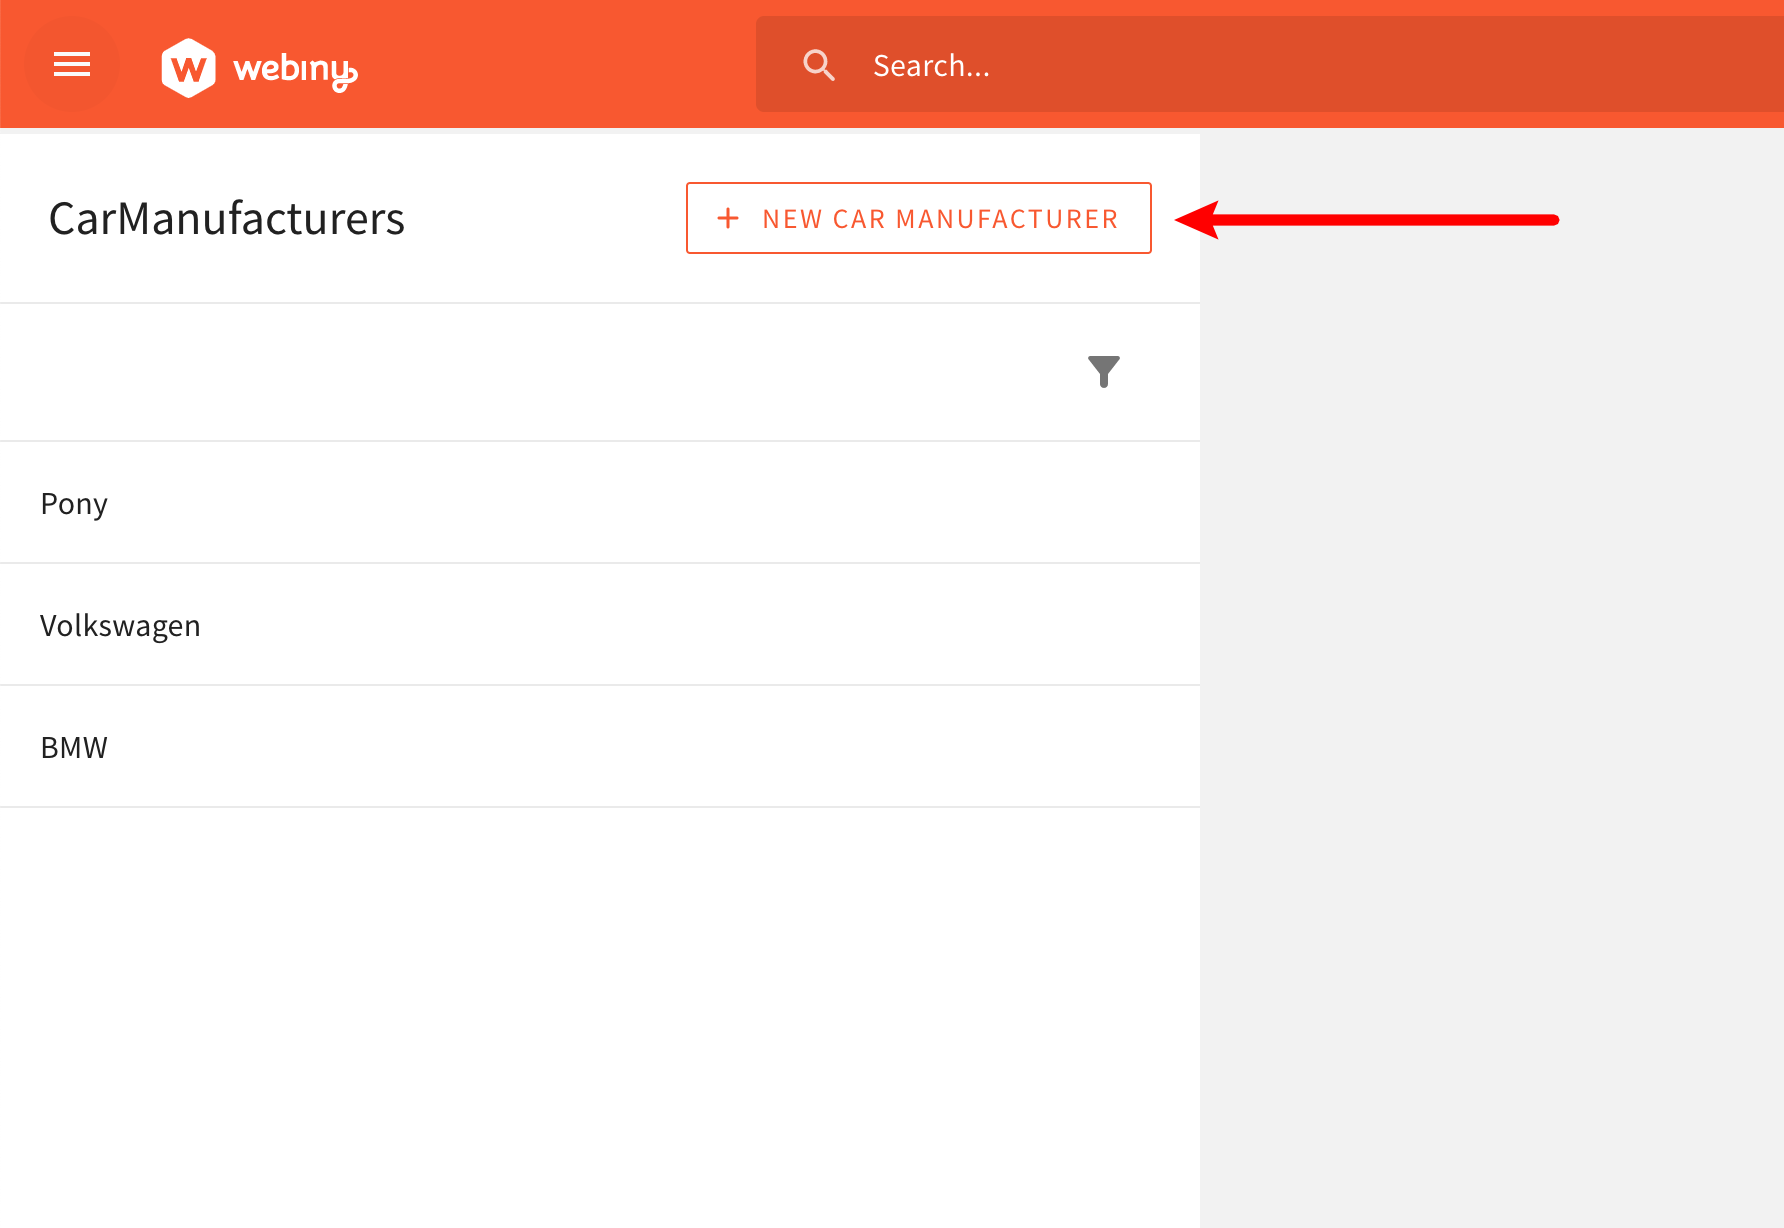 Hiding the New Car Manufacturer Button
To do that, let’s jump to the CarManufacturersDataList React component (apps/admin/code/src/plugins/scaffolds/carManufacturers/views/CarManufacturersDataList.tsx
ButtonSecondary component with the SecureView component. The following code shows how we can do that (parts of code excluded for brevity):
In order to conditionally render the New Car Manufacturer button, we are using the SecureView
@webiny/app-security
Once again, with this newly added code in place, we should no longer see the New Car Manufacturer button if the logged-in user isn’t allowed to create new or update existing car manufacturers (letter w must be present in the rwd property of our car-manufacturers security permission object).
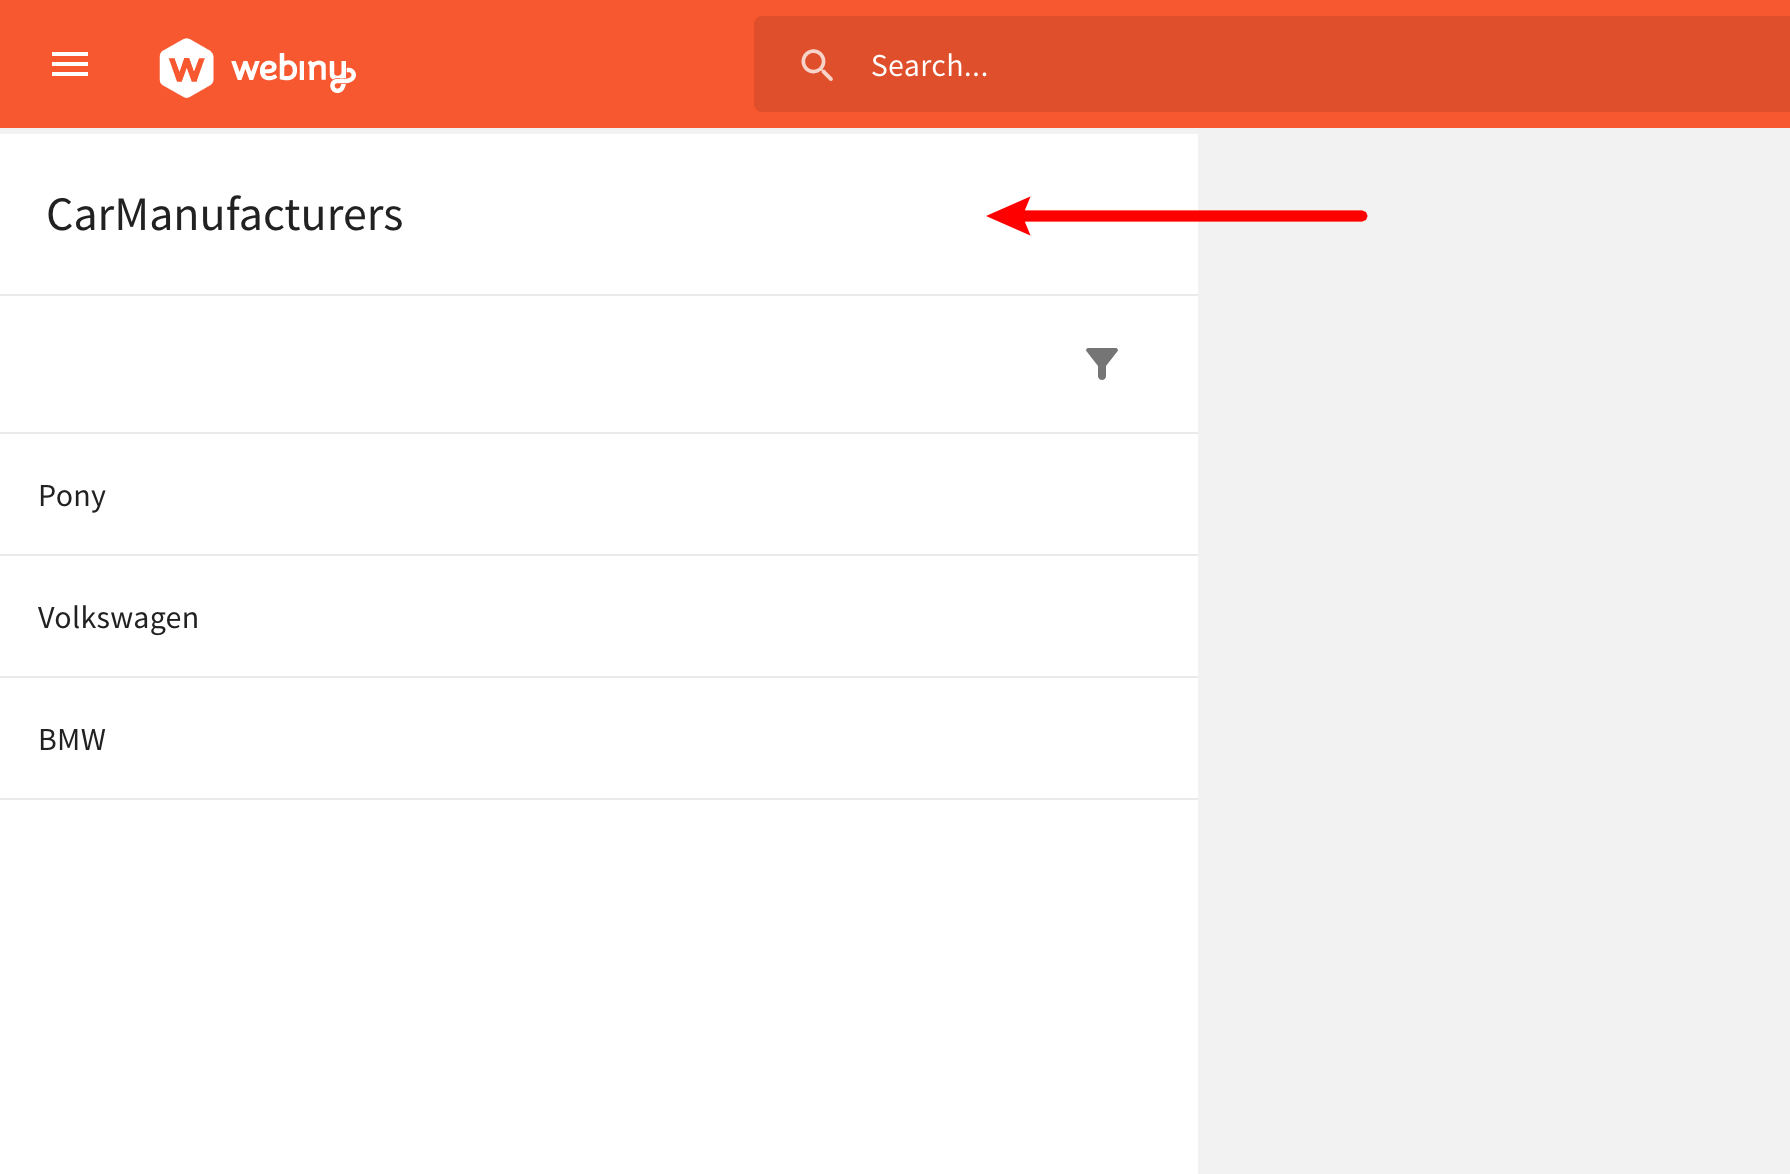 Hiding the New Car Manufacturer Button
And that’s how we can use the SecureView React component to conditionally render a React component.
Note that, instead of the SecureView React component, we could’ve also easily used the previously shown useSecurity React hook. The component is used here mainly for demonstration purposes and to raise awareness of its existence.
Final Notes
We’ve covered all of the possible ways you can perform authorization checks, while developing new Admin Area application modules:
useSecurityReact hookSecureRouteReact componentSecureViewReact component
It’s useful to know that these utilities can be used outside of the Admin Area application as well, like for example in a custom React application.
To learn more about how to use these in a custom React application, please check out the dedicated article (coming soon).
Furthermore, note that there are still places in the user interface, where we’d most probably want to perform authorization checks, using one of the shown utilities. For example, in the car manufacturers list, we certainly don’t want to show the delete entry icon, if the user isn’t allowed to perform the delete operation.
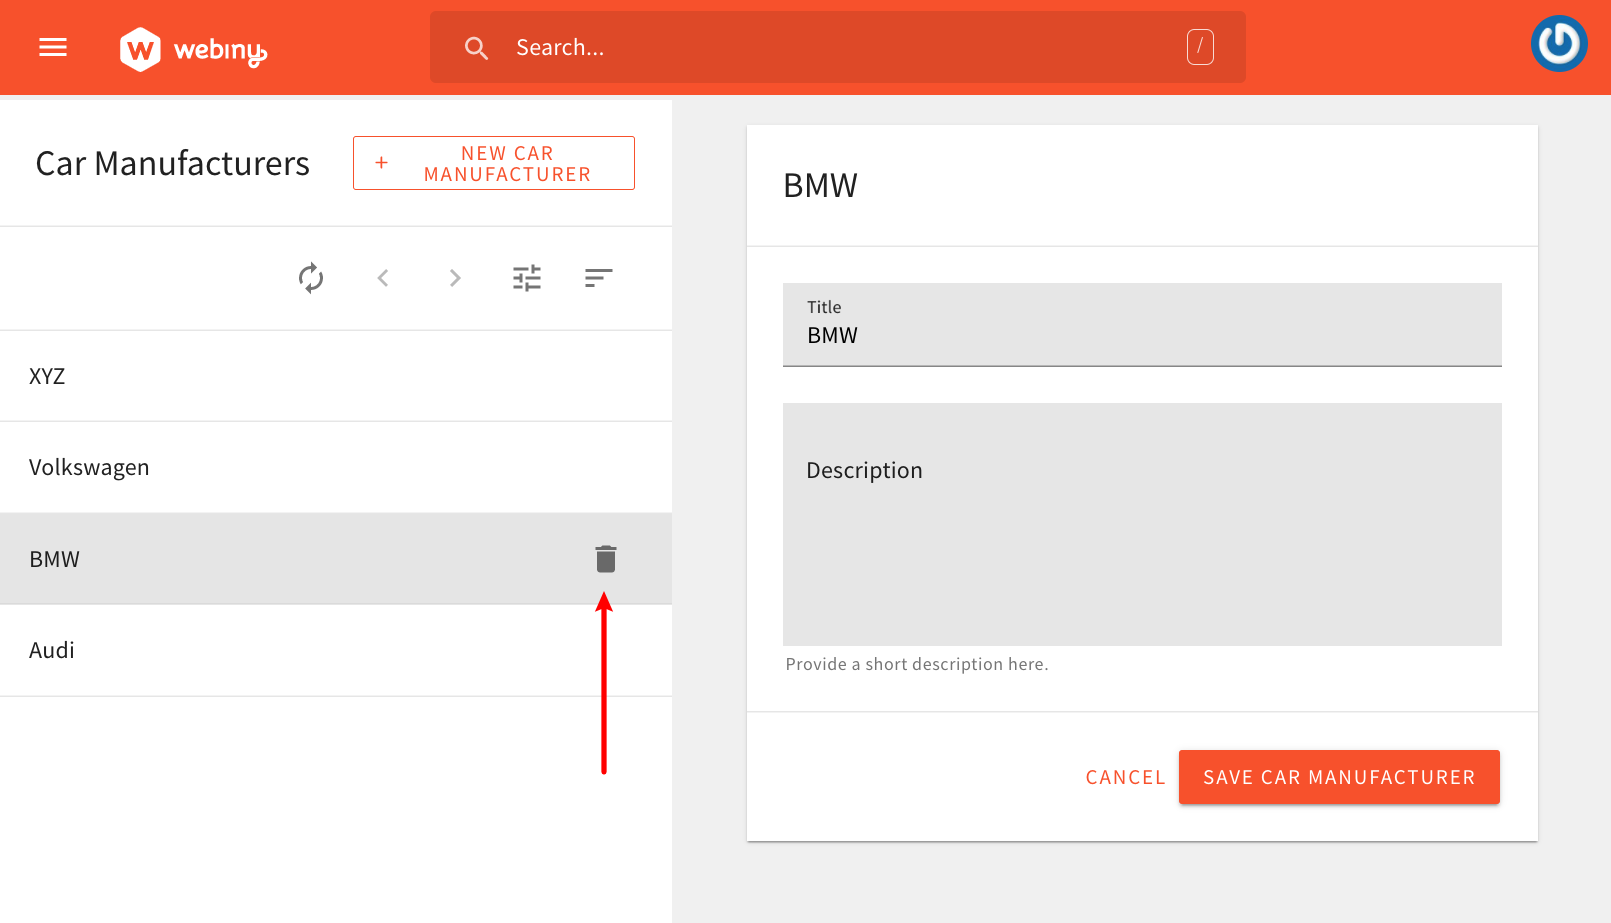 Hiding the Car Manufacturers Data List - Delete Button (Hidden)
Make sure to check the full code example
Finally, like in the previous GraphQL API section, in case you start seeing yourself copying some of the authorization related code, it’s certainly recommended that you extract it into one or more separate utility React hooks or components. This way we’re not repeating our selves (DRY
FAQ
Should I Use theuseSecurityReact Hook or the Shown React Components?
Although all three approaches are valid, we recommend the useSecurity React hook as your first choice. Utilize React components in scenarios where the hook is not the most appropriate solution or it simply cannot be used.